Installing and setting up
One of the benefits of OrgFlow is that it runs locally on your computer. This means that your metadata is never downloaded to (or processed on) a remote, third-party's server in the cloud.
This getting started guide will get you up and running in no time.
At the end of this guide, you'll have:
- installed OrgFlow onto your computer
- run your first command
- created your first Stack and added an Environment
- looked at your metadata in the Remote Git Repository
- flowed metadata from your sandbox to your remote Git repository, and vice versa
- explored ways to move metadata changes between Environments
- learned how to change which metadata types and records are handled by OrgFlow
OrgFlow is extremely versatile, which means that there will usually be more than one way to build out your processes and workflows. These guides will keep things simple and take you through techniques and concepts one at a time. As you work through the guides and build up your knowledge, you should begin to feel confident to design OrgFlow-based processes that are best suited to your requirements.
Installing OrgFlow
OrgFlow is cross platform, and supports Windows, macOS, and Linux. Use the tabs to follow the instructions for the computer you are working on.
Head to the download page and download the latest installer (.msi) for Windows.
Run the installer, accepting all the default values (make sure that you agree to the EULA before accepting). The installer will copy the OrgFlow executable into place, as well as updating your PATH environment variable so that you can run OrgFlow from any location.
That's it! You're ready to run your first command.
Head to the download page and download the latest installer (.pkg) for macOS.
Run the installer, accepting all the default values (make sure that you agree to the EULA before accepting). The installer will copy the OrgFlow executable into place, as well as creating a symbolic link so that you can run OrgFlow from any location.
That's it! You're ready to run your first command.
Head to the download page and download the latest packaged version (.zip) for Linux.
Once downloaded, extract it to your preferred location on disk.
That's it! You're ready to run your first command.
Running your first command
Now that you've got OrgFlow installed, let's run a command.
Open a command prompt or terminal:
- Press
START - Type
cmd - Press
ENTERon your keyboard
- Hold down the command key (
⌘) and press theSPACEbar to open Spotlight - Type
Terminalso search for the Terminal application - Double click the Terminal app icon that should be highlighted in Spotlight
If you're using Linux, we'll go ahead and assume that you already know how to open the terminal.
Just make sure that your current directory is the directory that you unzipped the OrgFlow executable to.
At the terminal prompt, type orgflow --version and press enter to run the command:
That's it- you've just executed your first OrgFlow command.
The command you executed was the 'version' command (orgflow --version). It displays the version of OrgFlow that you have installed.
Another useful command is orgflow --help, which displays a list of things you can do with OrgFlow, and how to do them. You can run this command at any time if you get stuck, or need a reminder on how to do something.
Creating a stack
note
Before you continue, you should make sure that you have all the prerequisites:
- You'll need access to a production Salesforce organization.
- You can complete this part of the guide without having to create any sandboxes, but you'll need to be able to create them to complete the later stages of the guide.
- You'll need to have Git installed. Here's a guide if you need it.
- You'll also need access to a Git repository that you can use to store metadata. We recommend creating a new repository for the purposes of these guides. You can use any Git service that you're familiar with, but we'll be using GitHub in these guides.
- Your Git installation should be configured so that it can authorize with the remote Git repository that you plan to use for these guides. The easiest way to check this is simply to use Git to clone the repository. If it works, you already have this set up. Otherwise, Git will prompt for credentials, which can then be re-used by OrgFlow over the course of this guide.
Your Stack is the backbone of everything you do with OrgFlow, so the next thing we'll need to do is to create your first stack.
The stack:create command
Open up your terminal again, and this time type orgflow and press ENTER. This will start OrgFlow in interactive mode, and you'll be prompted with a list of command. Use the arrow keys to select the command you'd like to run (in this case, stack:create), and press ENTER:
This will start the stack:create command in interactive mode. You'll be prompted for a few bits of information:
- The name of the stack to create. Be as creative as you want here, but just make sure that you don't already have an existing stack with the same name. We'll use
OrgFlowGuidein these guides. The URL of your remote Git repository. This value will be unique to you; for the purposes of these guides, I created an empty repository (
https://github.com/OrgFlow/Guides.git) in our GitHub organization:

caution
Your Salesforce metadata will be committed to this repository, so be careful not to accidentally use a public repository if you are not comfortable making your Salesforce metadata visible to the public.
The categories of metadata types that you want to include in your stack. We'll cover this in more detail later on, but for now pick
General customization.- The name of your Production Environment. Leave the default value in place (
Production). - The name of the Backing Git Branch for your production environment. Again, just leave the default value in place.
- Your Salesforce username for the production organization. Enter your Salesforce username here. Don't worry- OrgFlow does not store this username anywhere.
Once you've entered all of this information, OrgFlow will begin the process of creating the stack.
Authentication
OrgFlow will use OAuth to authenticate with Salesforce.
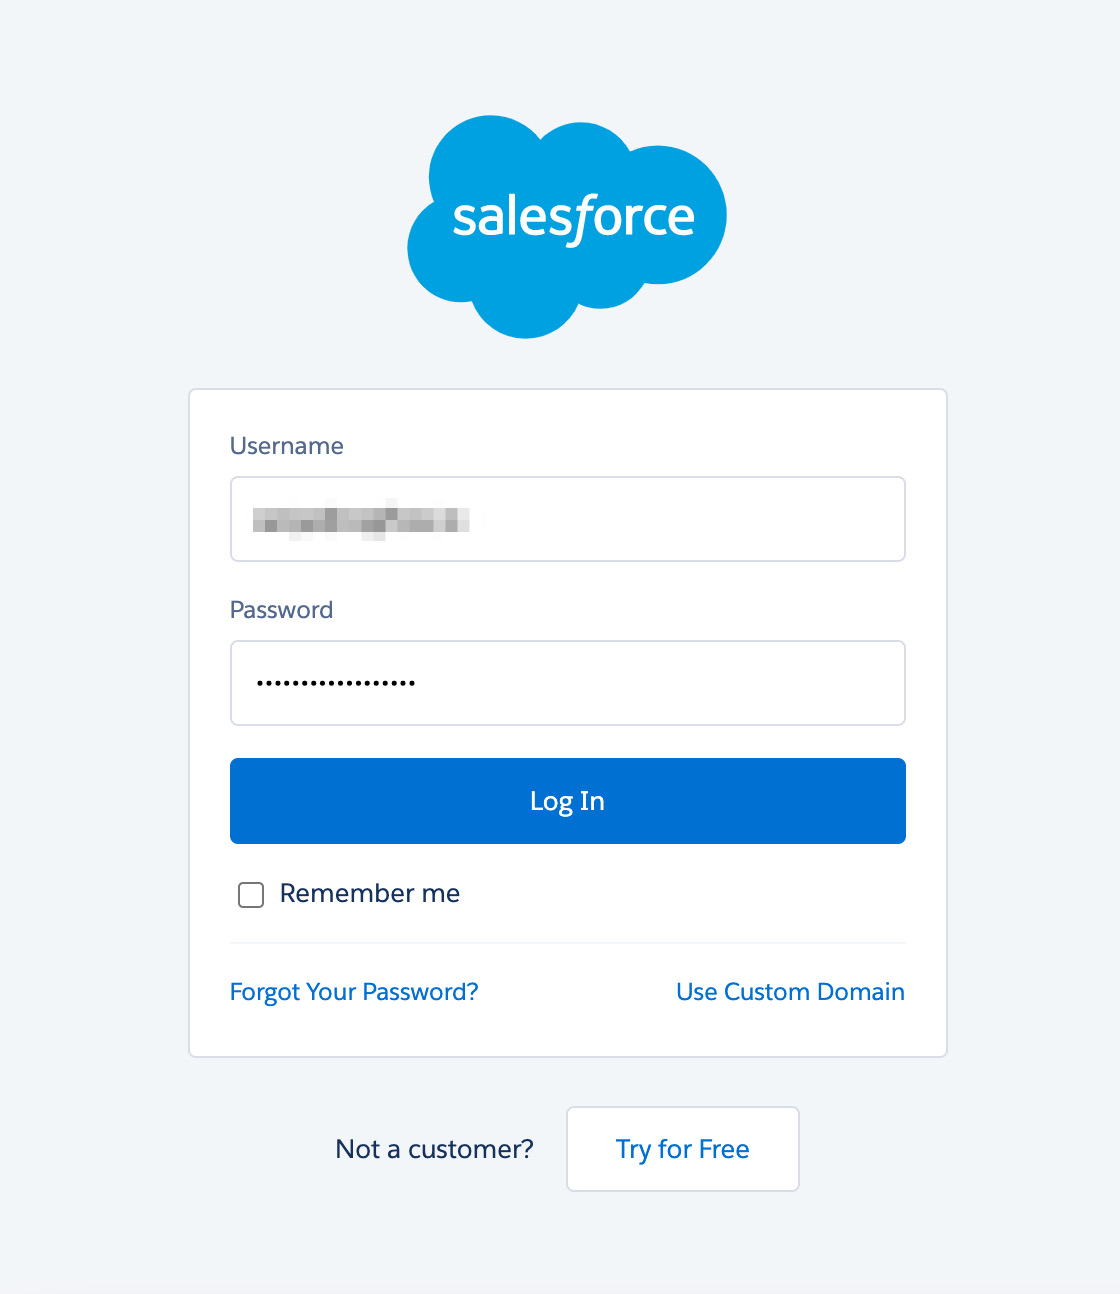
Whenever authentication is required, OrgFlow will open a browser window that will prompt you to log in to Salesforce. This ensures that OrgFlow never knows your password, and it also allows advanced authorization techniques (such as MFA) to be utilized by Salesforce.
When the browser window opens, enter the password for your Salesforce user, and then complete any further challenges that Salesforce might ask for. Once Salesforce has verified your identity, it will give a token back to OrgFlow. This token can be remembered and re-used by OrgFlow for as long as it is valid. This reduces the number of times that Salesforce requires you to enter your password.
Monitoring progress
OrgFlow will always keep you updated on its progress:

The stack:create command is one of the slower commands, and it may take a few minutes to complete (especially if you have a lot of metadata in your organization). Operations that rely on Salesforce (such as downloading or uploading metadata) can occasionally be slowed down by Salesforce, but other than that, OrgFlow is careful to be as efficient as possible.
Finishing touches
Once OrgFlow has created your stack, it will then prompt to help you put some finishing touches to it. Your stack is fully usable at this point, but these extra options might make it easier to use going forward.
The first thing that you'll be asked is if you want to save your Salesforce credentials for re-use in any further commands that you run. If you pick yes, then OrgFlow will ask a series of questions to determine how and where to save your credentials.
You'll also be provided with an encryption key to allow you to retrieve the password that you saved. That encryption key will be cached on your device so that OrgFlow can re-use it automatically, but you should still keep a record of it as you won't be able to retrieve the encryption key once you close this window.
For the purposes of this guide, we recommend that you pick the following options:
- Save your credentials
- Allow OrgFlow to transform the credentials for any environment (see Credential Inference for how this works)
- Store the credentials on your local device
- Provide your production username
- Provide your password
note
Your Salesforce org may be configured in a way that requires a Security Token to be supplied with your password. In this case, you must append your security token to the end of the password that you save. For example, if your password is OrgFlow123, and your token is abcdefg, then you should use OrgFlow123abcdefg.
tip
If you would prefer to continue to use Salesforce's OAuth login mechanism, then you can do so by saving your username, but leaving the password prompt empty.
Once you've done this, let's take a look at the results.